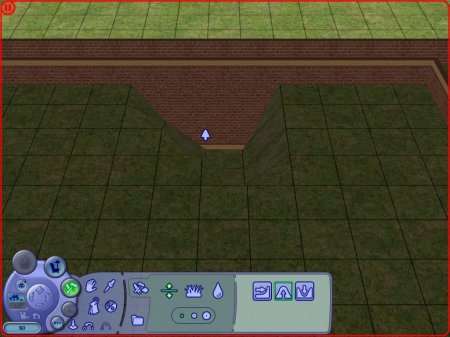
Fig 4: The bottom border of a wallpaper helps you set the right depth for your basement.
Pop down a level into the basement. Use the wallpaper tool and find something with a border top and bottom; this will act as your guide. A good one to use is the "London's Red Chimney Bricks With Top & Bottom Timbering in Light Wood" - it's also the same look as the foundation itself with a border.
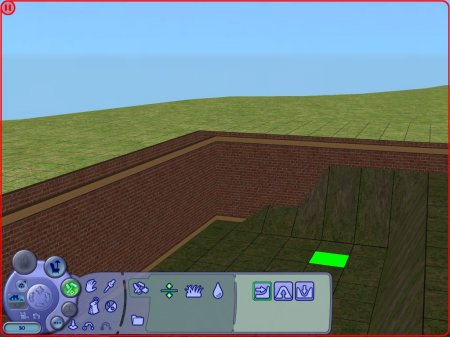
Use the wallpaper tool to paint the inside brick wall all the way around (choose the paper, hold SHIFT, click one tile, job done). Now you need to start lowering the terrain until you find the bottom border as pictured. This is why you use a bordered wallpaper - makes life easier. Take note that the bottom border needs to be the same thickness visually as the top border, especially if you wish to link the two levels with a normal stairwell.

Fig 5: Levelling the land. Need some flat land at least for the stairs.

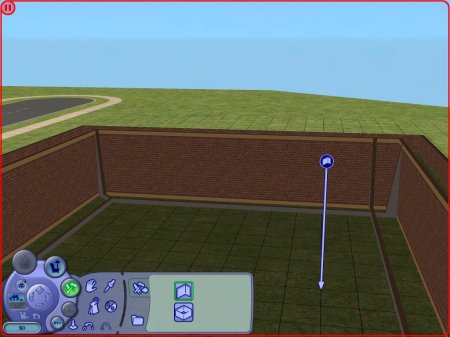
Fig 6: Building walls in the basement of a Sim house. Notice the crossed and diagonals in the corners.
Walls cannot be built adjacent to foundations; there will always be a one square gap. However you can build directly to them, just not directly along them. As shown in Figure 6, you can either use a diagonal wall to link to the centre walls, or just cross them over. It doesn't matter which way you use.
Last updated at 10:23 2004n Monday 25 October 2004.


